“I can’t fault Zinc really, it’s been a seamless process. We don’t even have to think about it really, which is a good thing.”
People Operations Specialist
Deliver comprehensive, accurate background checks directly from your HiBob account.

Organise all your background checks, without leaving HiBob
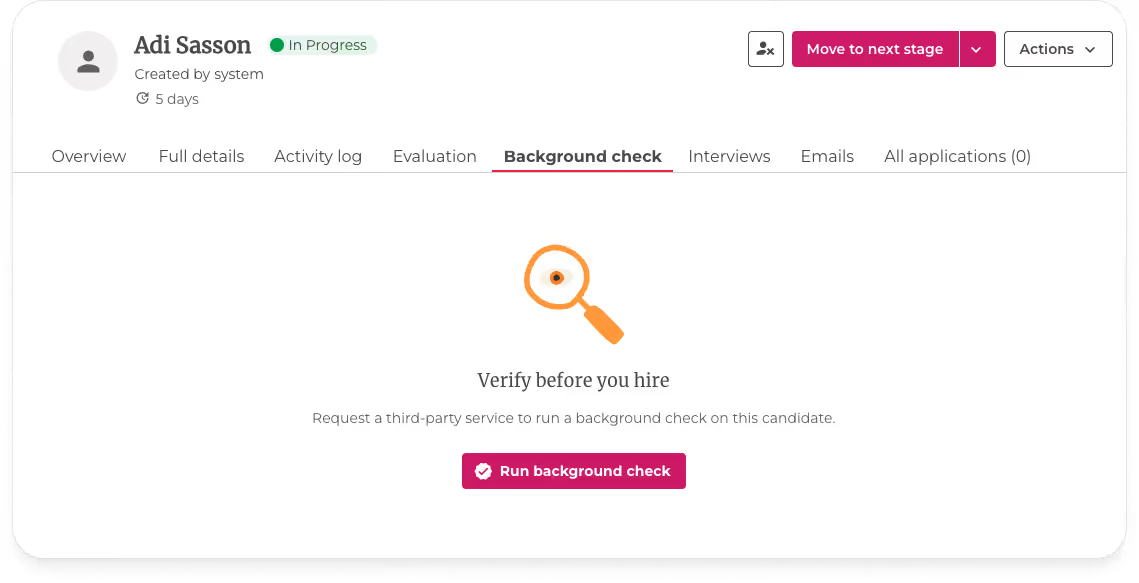
Build an efficient workflow to manage your compliance process and reduce risk for new and current employees.